Replacement
of a drumhead (about
10 minutes) see
also rope replacement see also natural
head set-up  version
en Français version
en Français
 see
the pictures see
the pictures
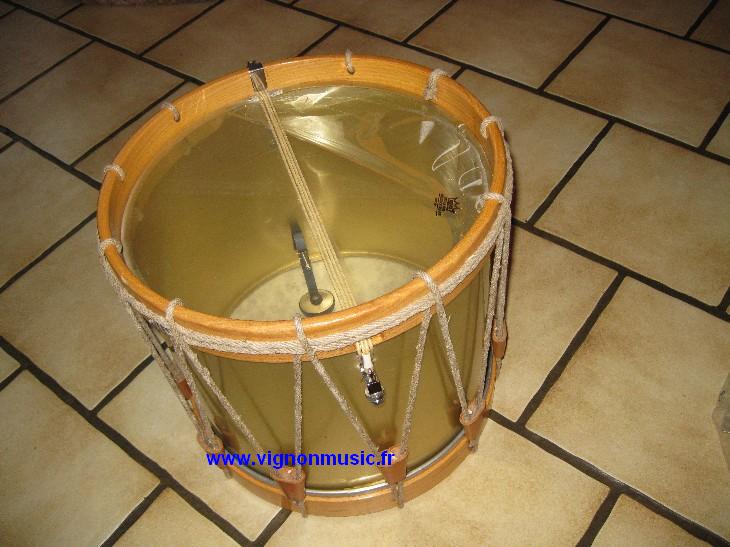
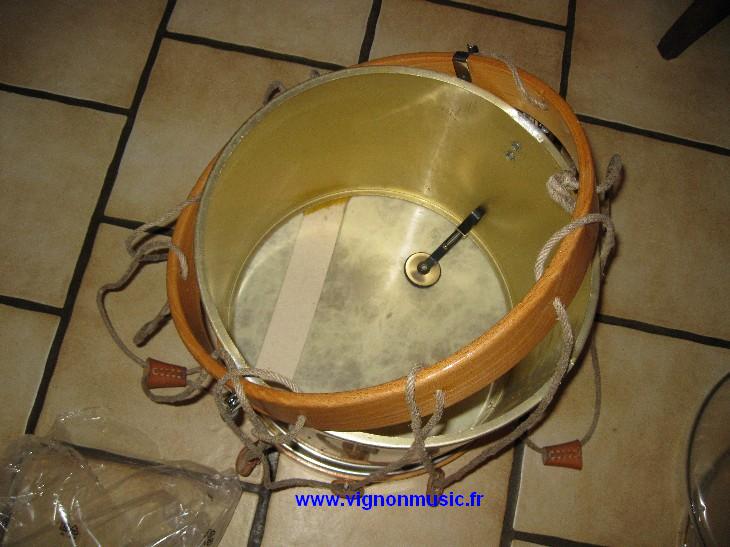
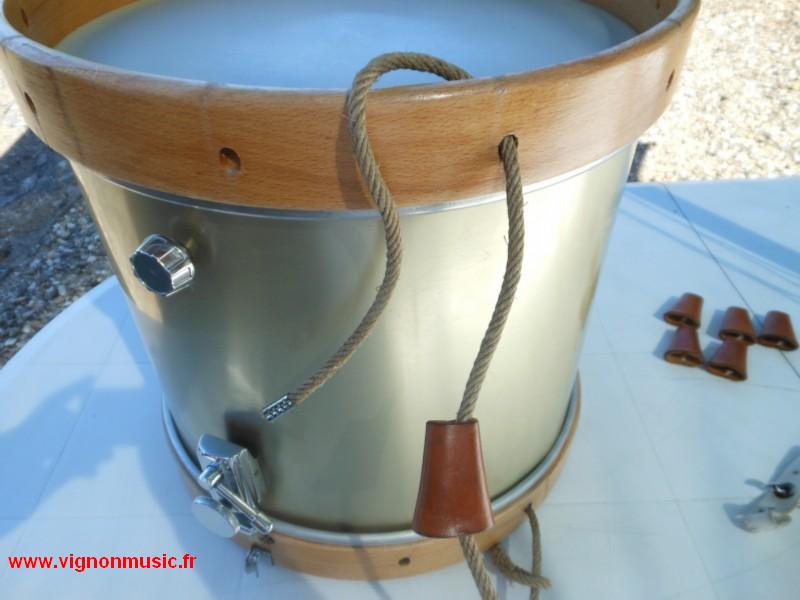
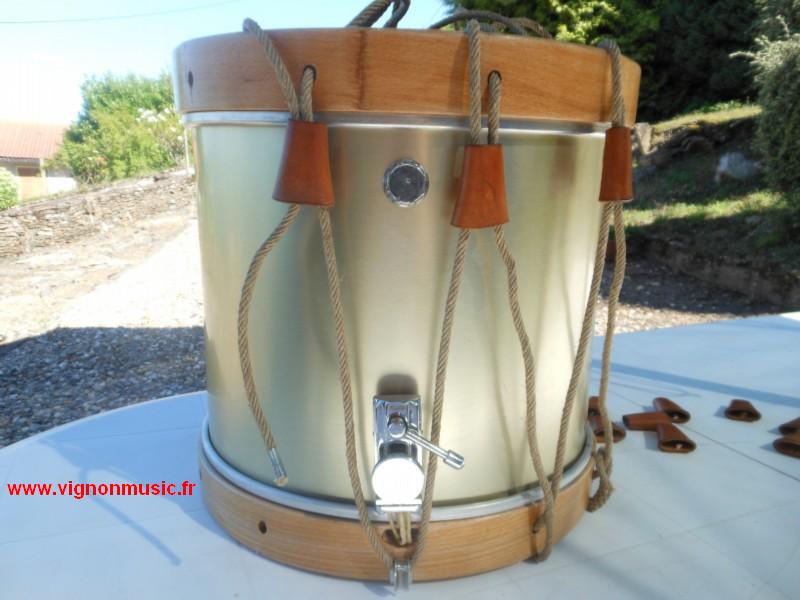
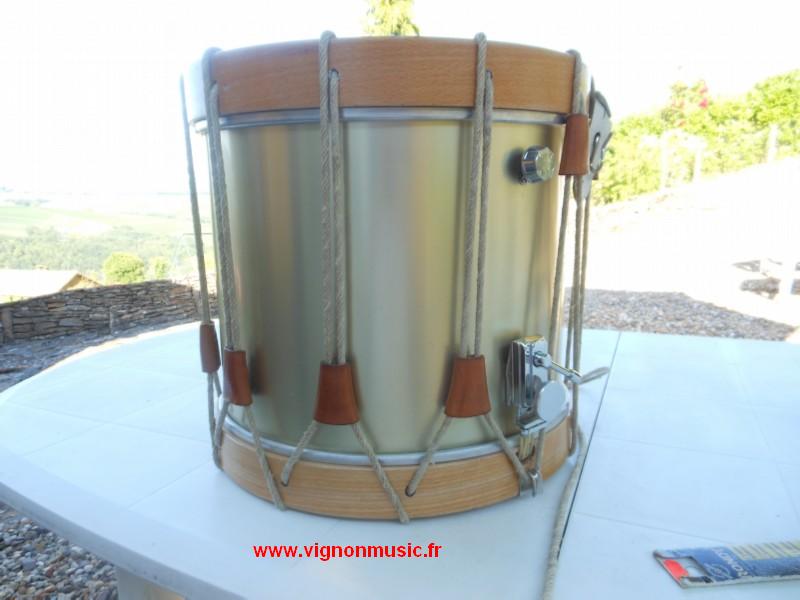
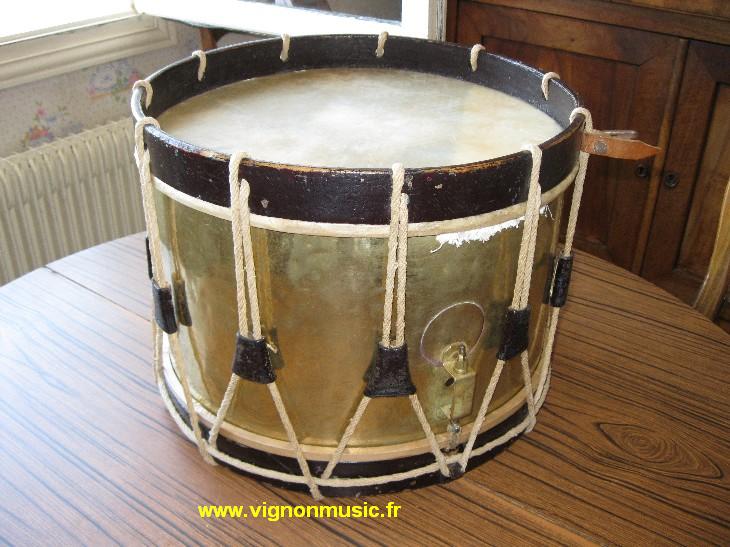
Example
for a snare head (photo
1)
If
it is a natural one, see also natural head
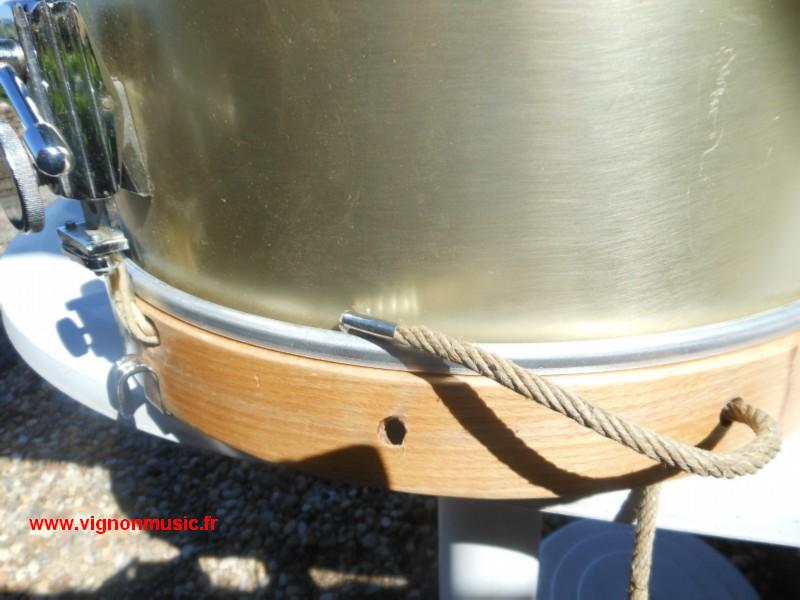
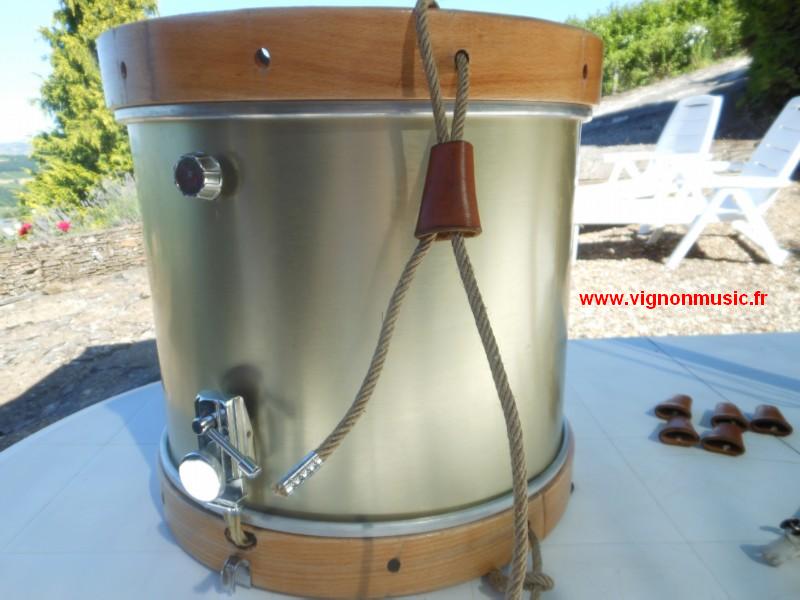
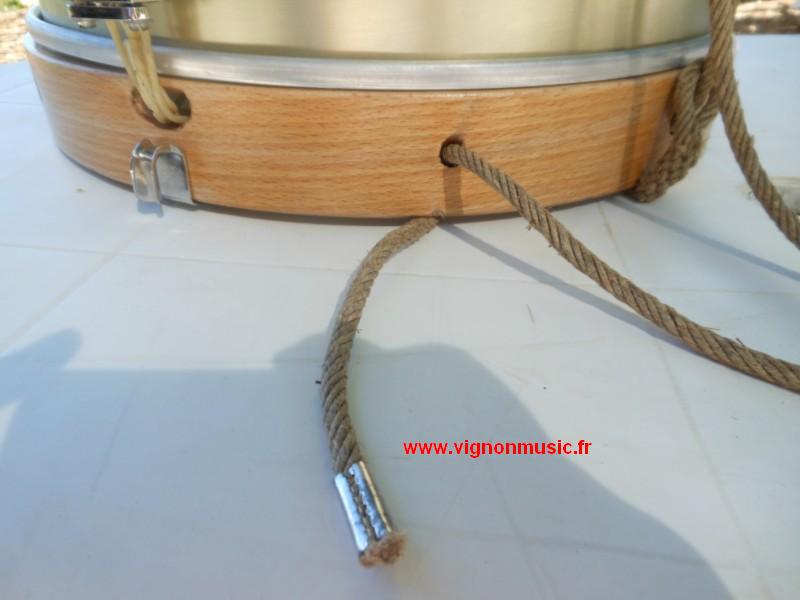
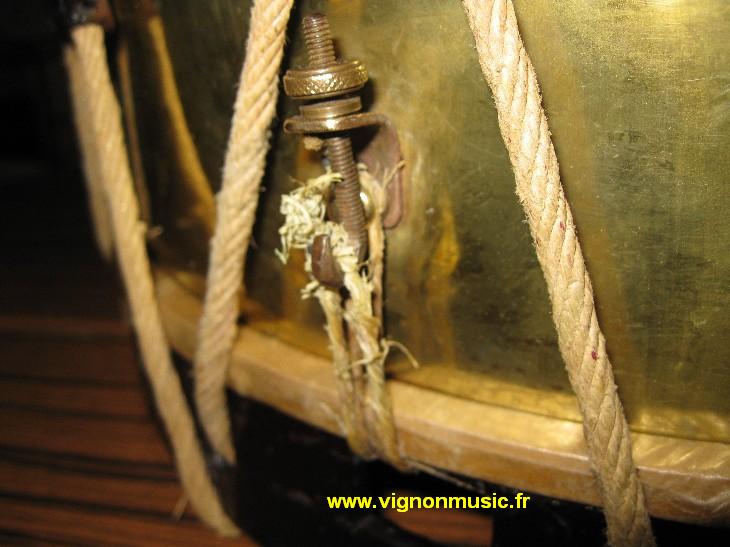
1° Put off the rope surplus which is around of
the snare hoop (photo
2)
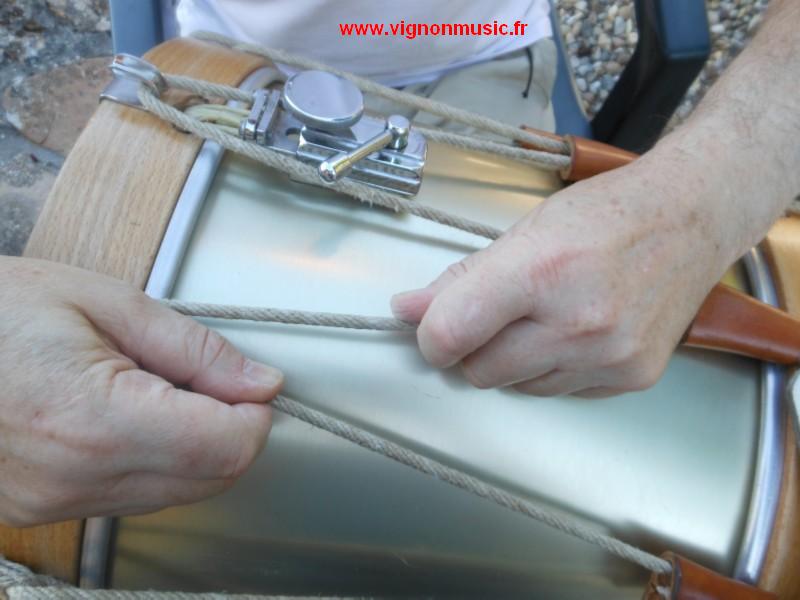
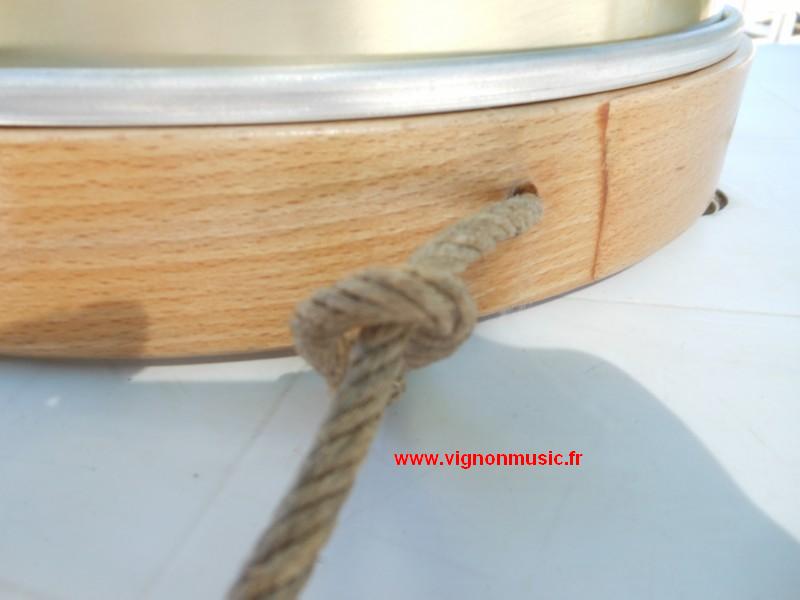
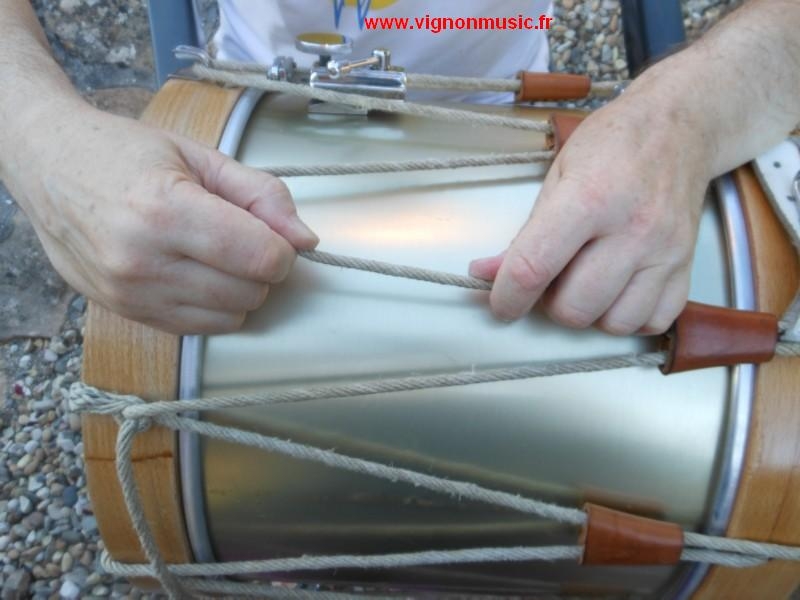
2° Slack off enough the rope cordage taking advantage
of this surplus (photo
3)
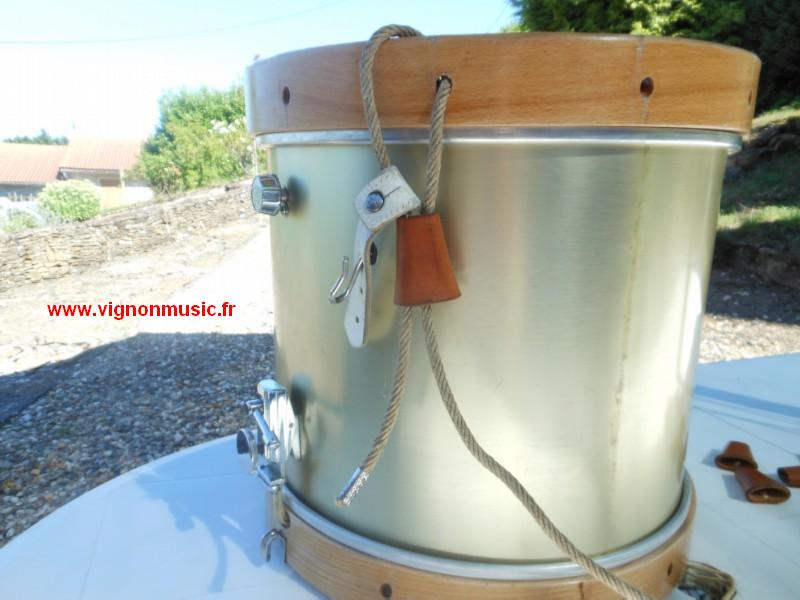
3° Draw the hoop concerning by the head which
must be replaced (photo
4)
4° Take off the old head (photo
5)
5° Put the new head (photo
6)
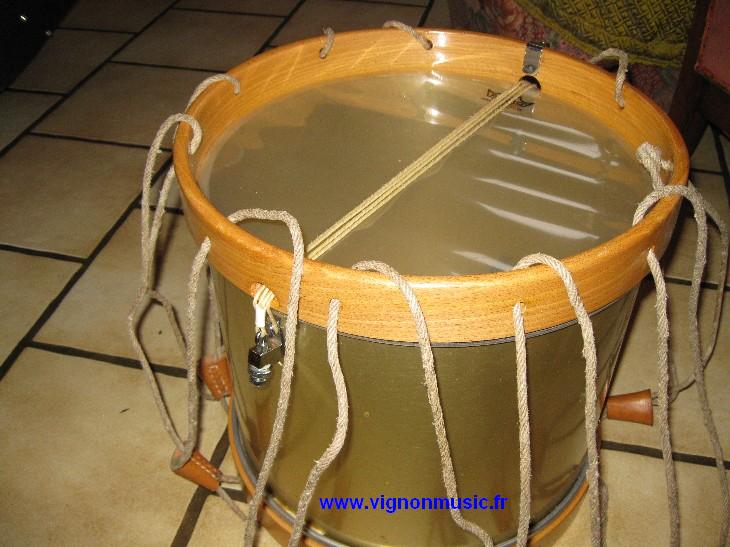
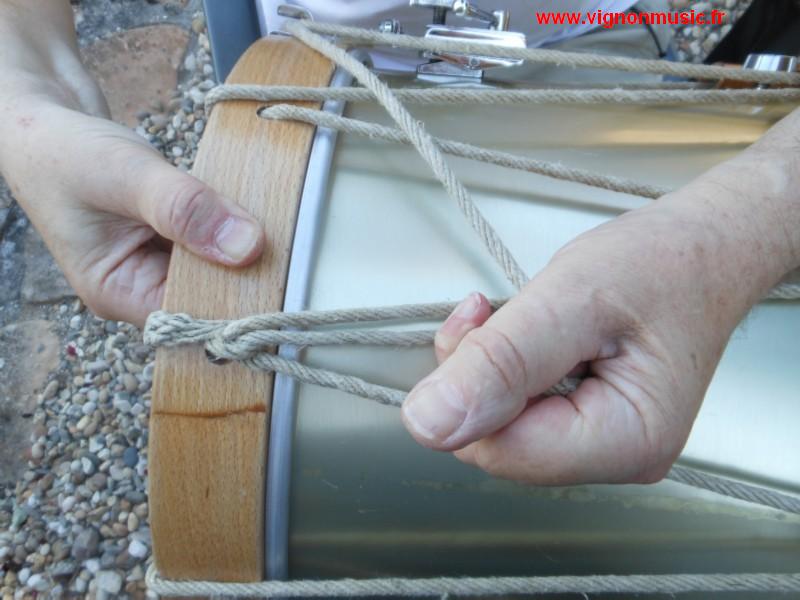
6° Set up the parts (photo
7)
7° Pull the rope, but not stretch it (photo
8)
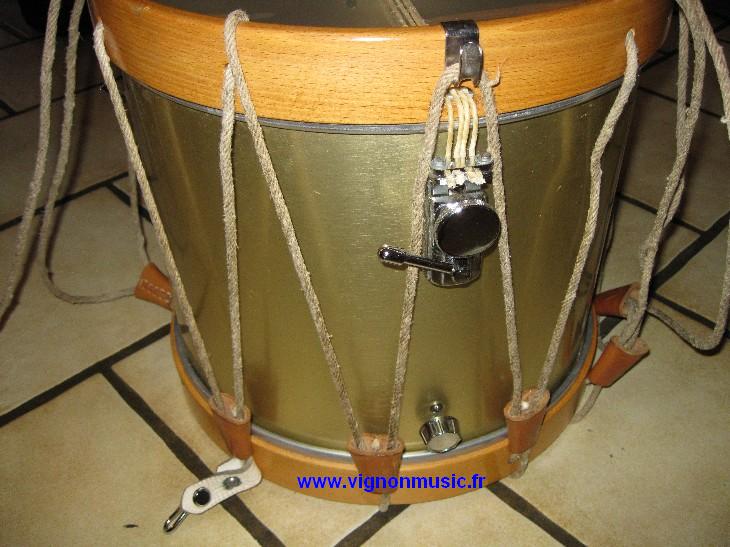
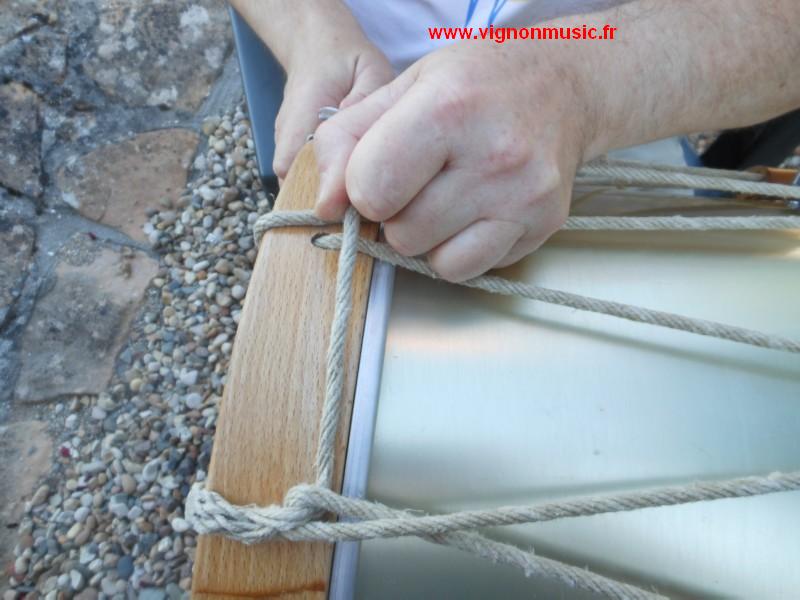
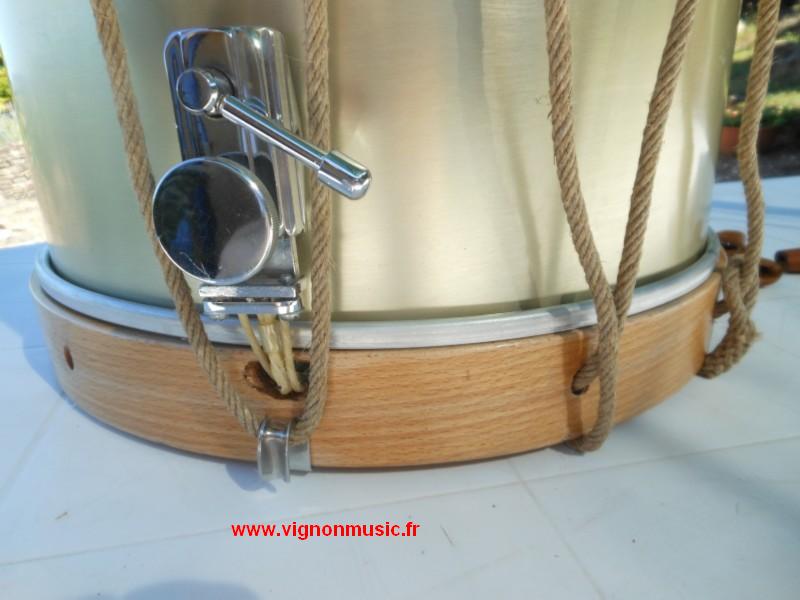
8° Verify the correct placement of the snare
hoop with the shell (with the snare throw off),
then the batter hoop (photo
9)
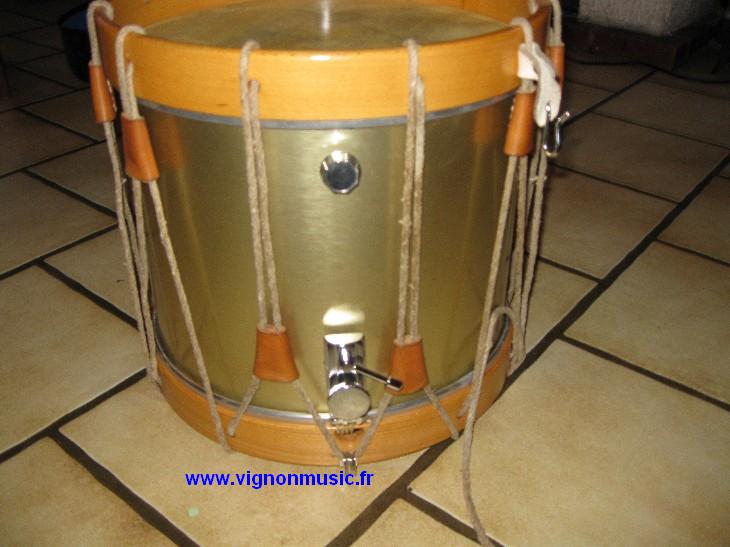
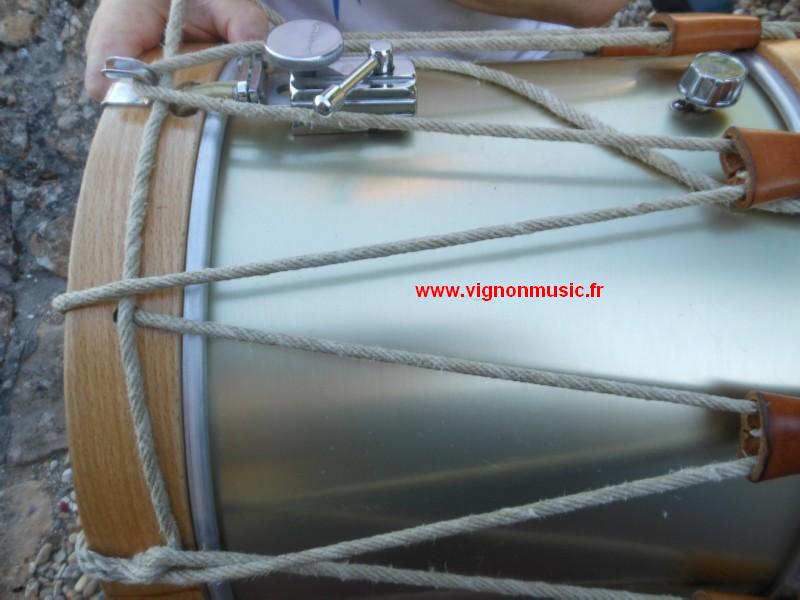
9° stretch the rope, often that needs three stages
(three turns) (photo 10) (photo
11) (photo
12) (photo
13) (photo
14) (photo
15)
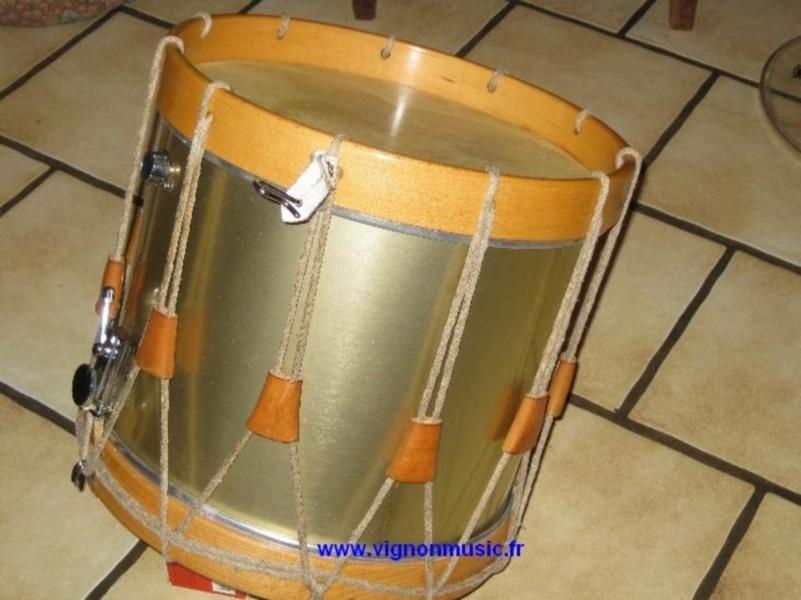
put
the surplus around the snare hoop, and I always
do a last turn around in order to equalize
the tension, in the inverse direction, beginning
with the end (photo
16).
Rope replacement version
en Français
see
the pictures
In
any case, or to renew the hoops, or to replace
the ears, we of course must completely put
it, but it is of course not necessary to only
replace one, or the two heads. See head replacement also natural
head
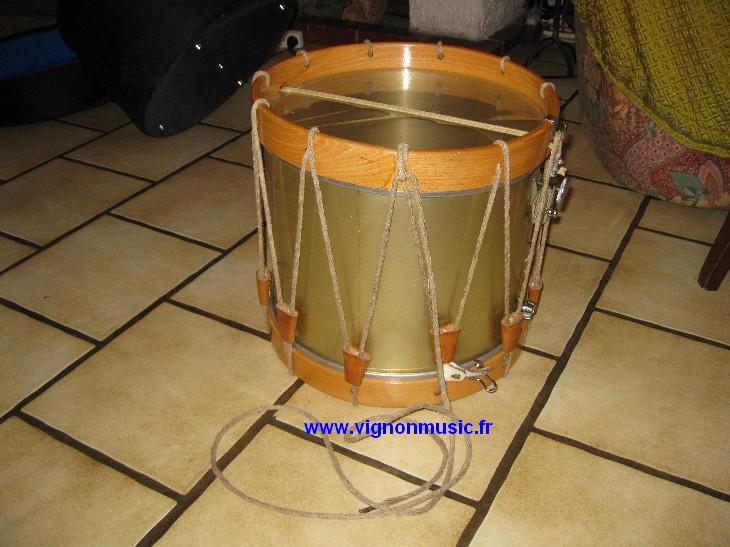
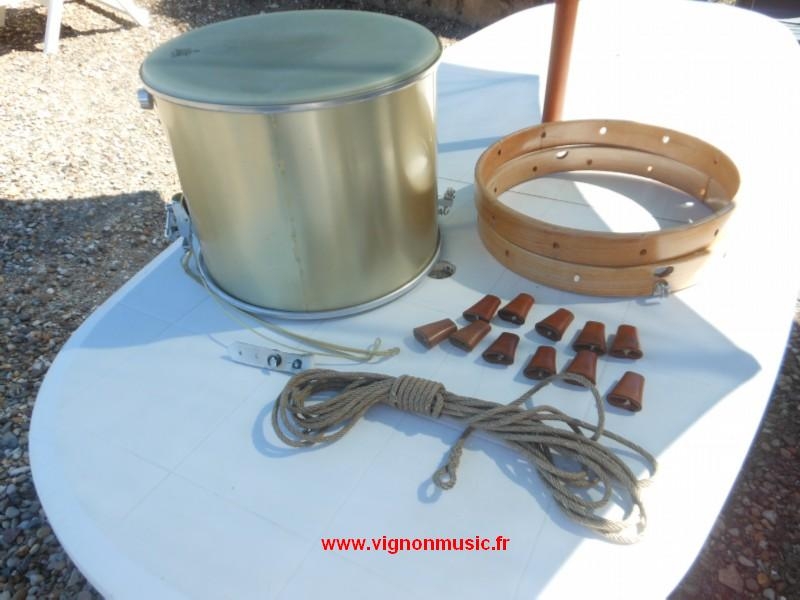
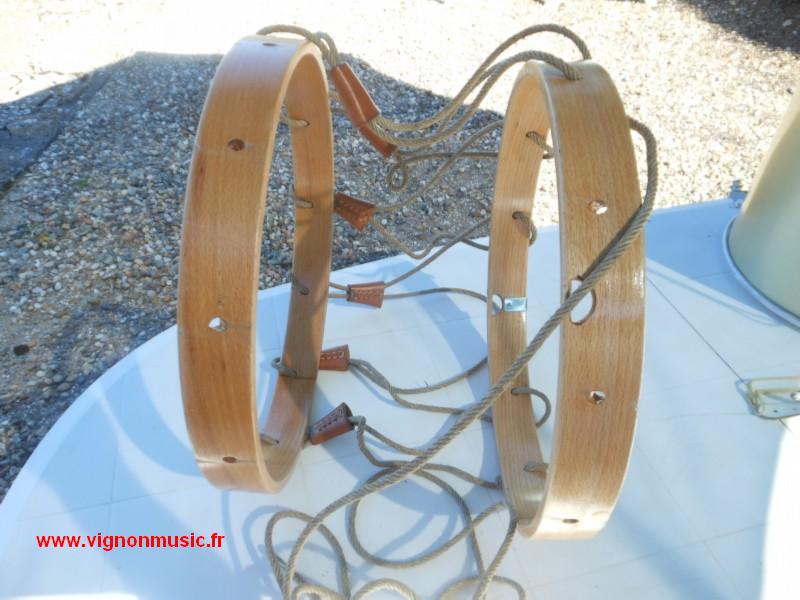
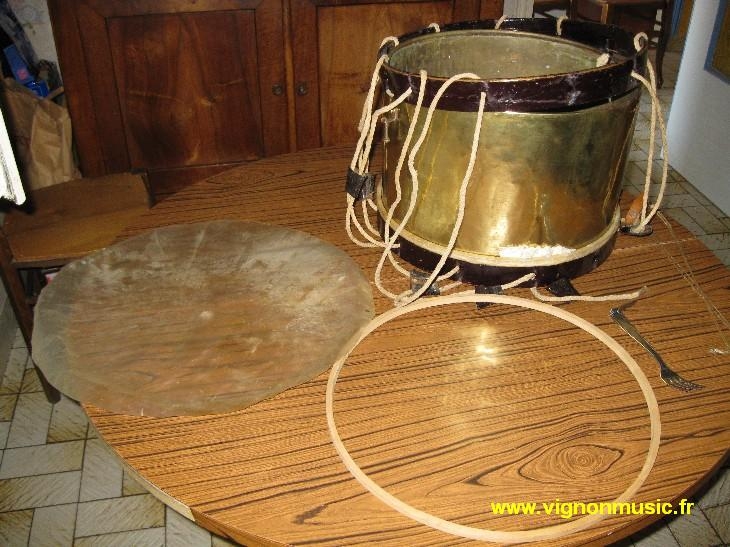
1° View
of the Drum parts : (photo
1)
- the shell, with the heads, the
snare
- the two hoops
- the eleven ears
-
the suspension strap with hook
- the new
rope.
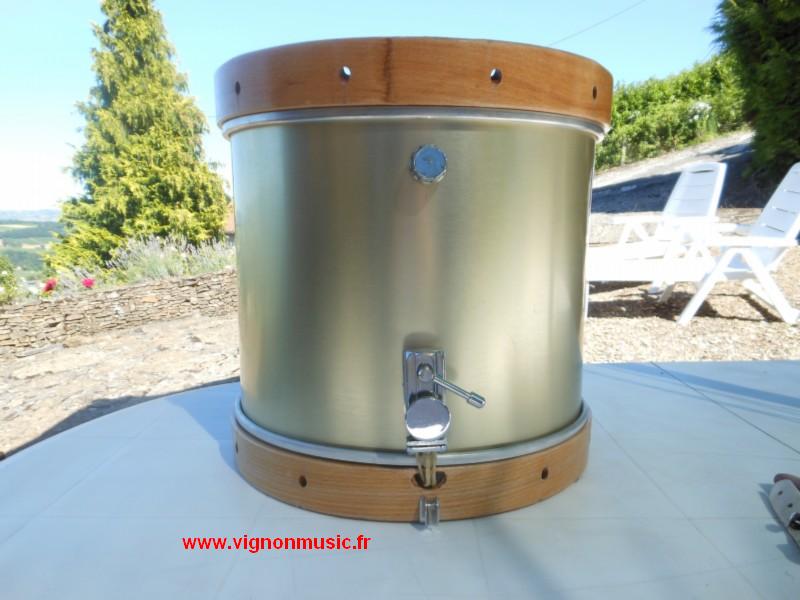
2° We put the hoops on the shell, in the
right place. (photo
2)
3° It is of course very important to well
begin. So, there are many explanations, it
is better to have too much than not enough.
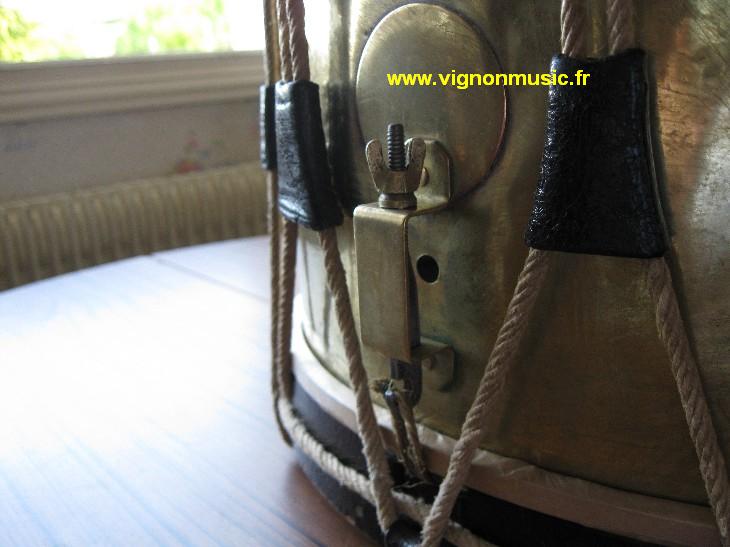
4° We begin into the second hole of the
snare hoop, counting right from the snare
throw-off. (photo
3)
5° We pull it, and put it into the loop. (photo 4)
6° We put into the first ear, then into
the batter hoop, in entering direction, and
going closer to the snare motion. (photo
5)
7° We continue into the ear (photo 6), the into the snare hoop (thus
first hole right from the snare). At this
moment, we just pull the rope into the parts
in order to maintain all, but we do not stretch. (photo 7)
8° Normally, the suspension strap is "open",
we can put it at the end of the operation.
If it is not, do not forget to place it now. (photo 8)
9° We continue again, ear, hoop, ear,
hook (photo
9), ear, hoop, etc. (photo
10)
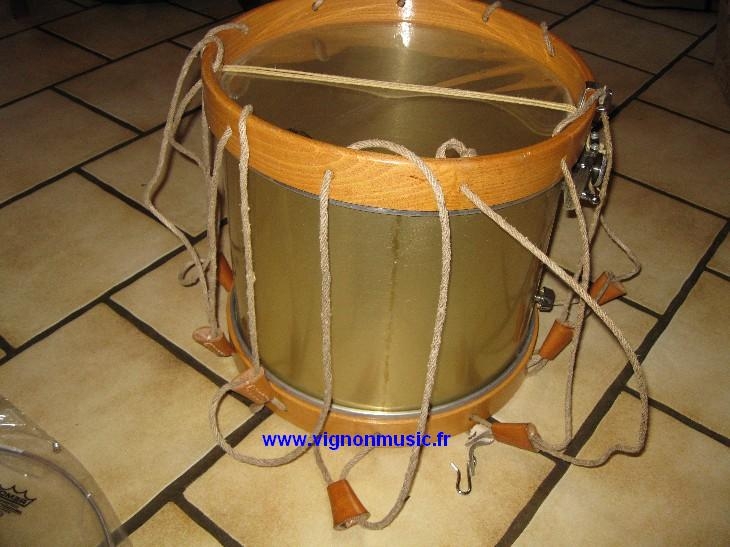
10° It is possible to do the operation
as shown, without the shell. (photo
11)
11° Here is the final result, with the
last passage into the loop of the rope. (photo
12)
12° At this time, we must verify the good
position of the snare hoop compared with the
shell. Then, pushing down some ears, we can
watch the batter hoop. (photo
13)
13° We now have to stretch the rope from
the begining. (photo
14)
14° Then, strand by strand. (photo
15) (photo
16)
15° We finish by pulling through the loop,
with a stop turn. (photo
17)
16° And, we stretch again... in general
we need to do it two, three times, and gain
one, two centimeters each time.
17° We put the surplus of the rope around
the snare hoop, as shown. (photo
18) (photo
19)
18° I always finish with a last inversed
turn (beginning with the last strand) in order
to equalize the tension.
19° Then, we can play. (photo
20)
Natural head set-up (about
20 minutes, and some hours for drying) version
en Français
see
the pictures
We
want to replace the snare head on this old
Drum. (see story).
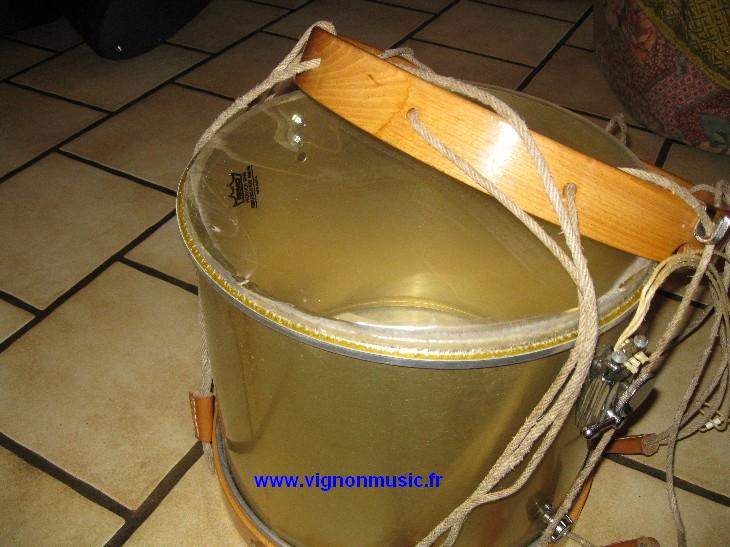
1° General view, (photo
1) :
-
the "open" Drum: See head replacement and rope replacement
-
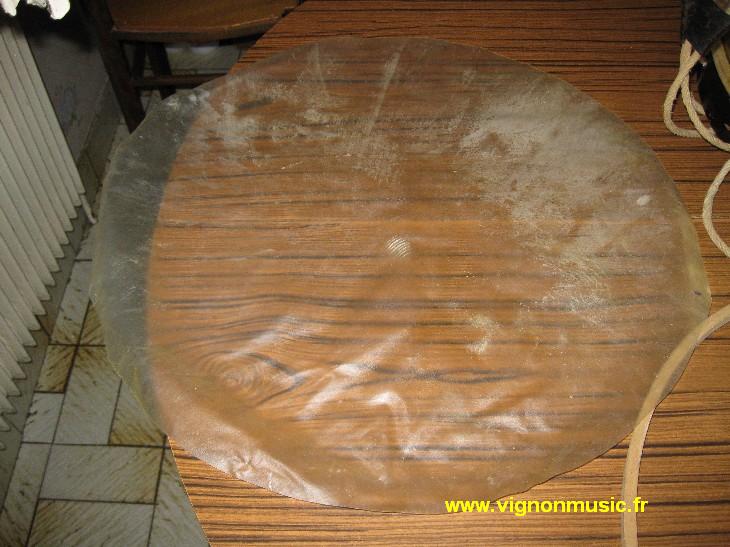
the new head, made of calf or goat skin (here
it is calf, I prefer) (photo
2)
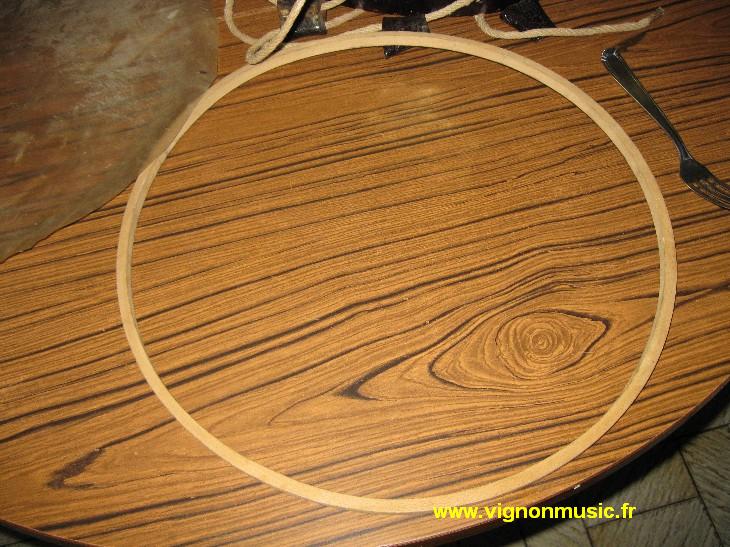
-
the head hoop, for which we verified it matches
with this old shell (photo
3)
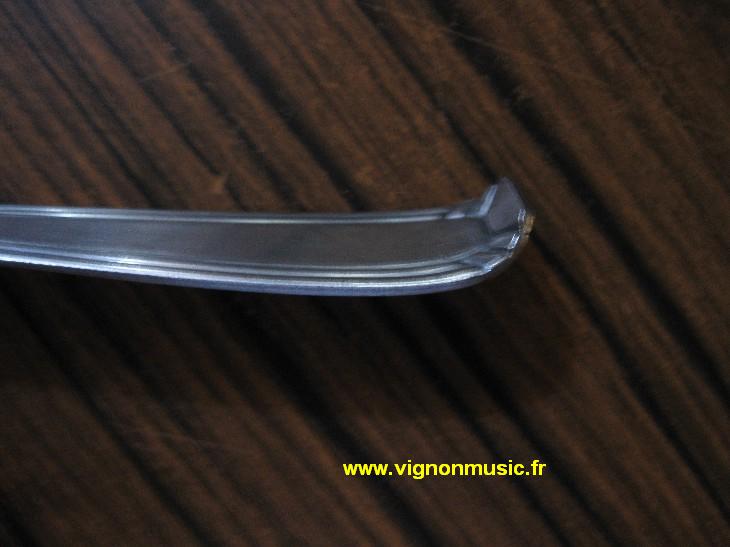
-
the dedicated fork, with a "special"
bent end. (photo
4)
2° Soak the head in cold water (not hot, of course,
we do not want to cook it) for some minutes,
enough to obtain the required suppleness.
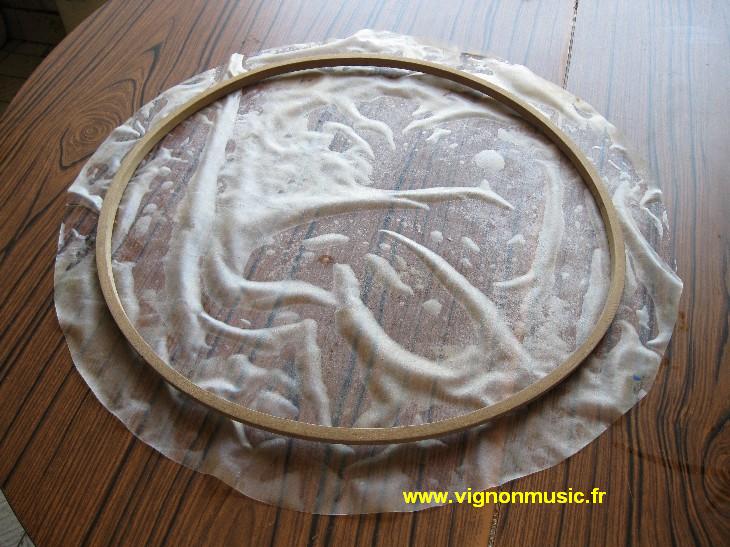
3° Place the head on a
table, extern side down, and the hoop above. (photo
5)
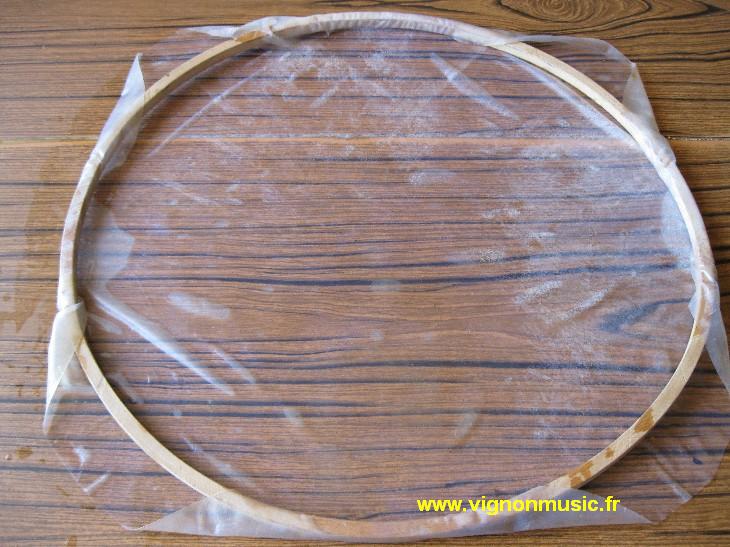
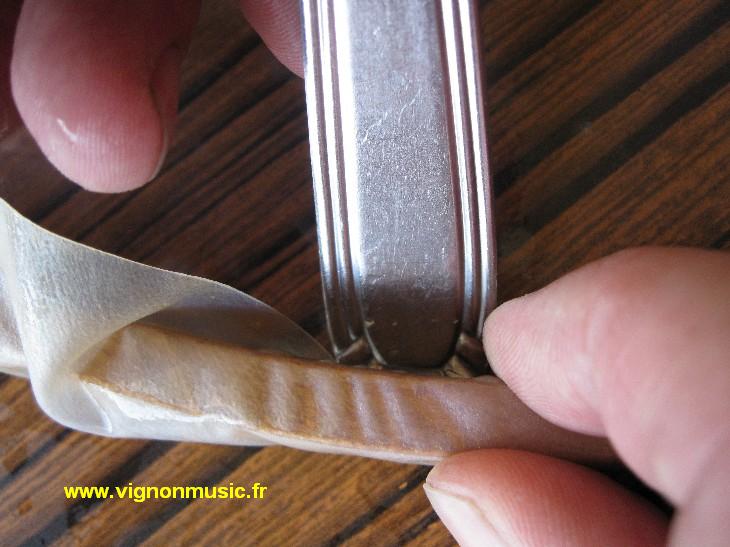
4° Begin to roll the head,
in four opposite points. (photo
6)
5° View of the details
of the operation. (photo
7)
6° Continue all around,
then finish to roll. (photo
8) and result
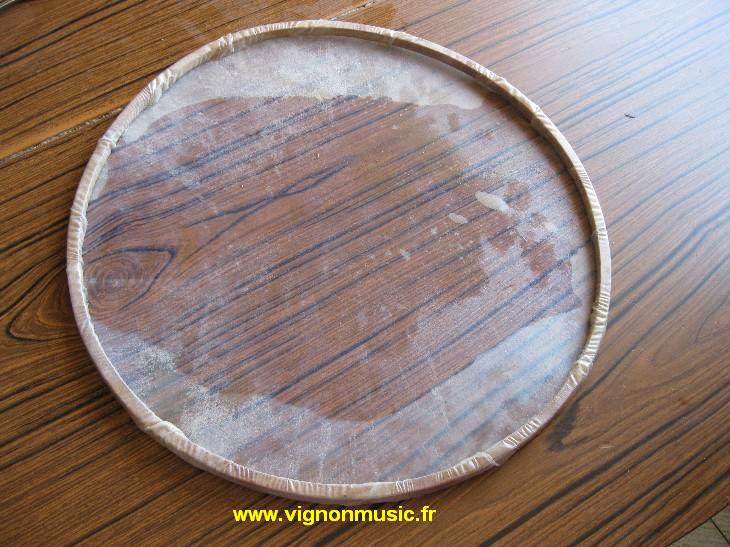
scheme
7° Put the head on the Drum, pushing it about
five millimeters, just for it takes shape.
Pull the rope, but do not stretch. (photo
9)
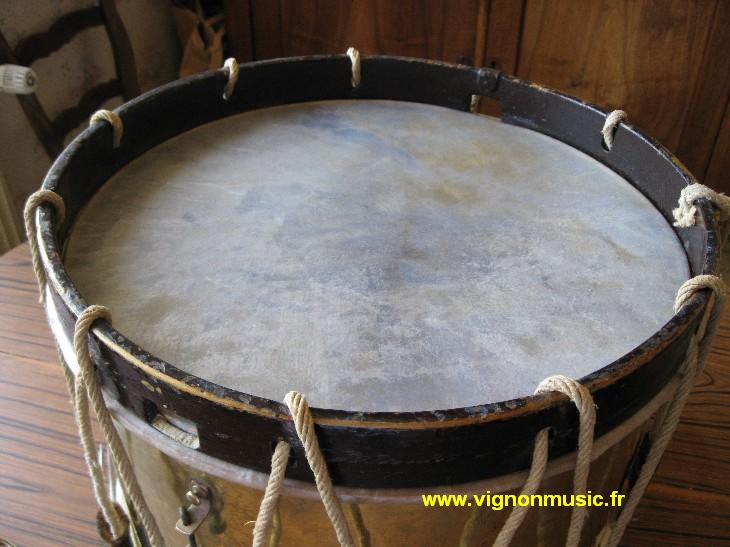
8° Wait for the drying,
between three and ten hours, depending of
the thickness of the head and of the meteo.
9° Finish the Drum set-up, stretch the rope.
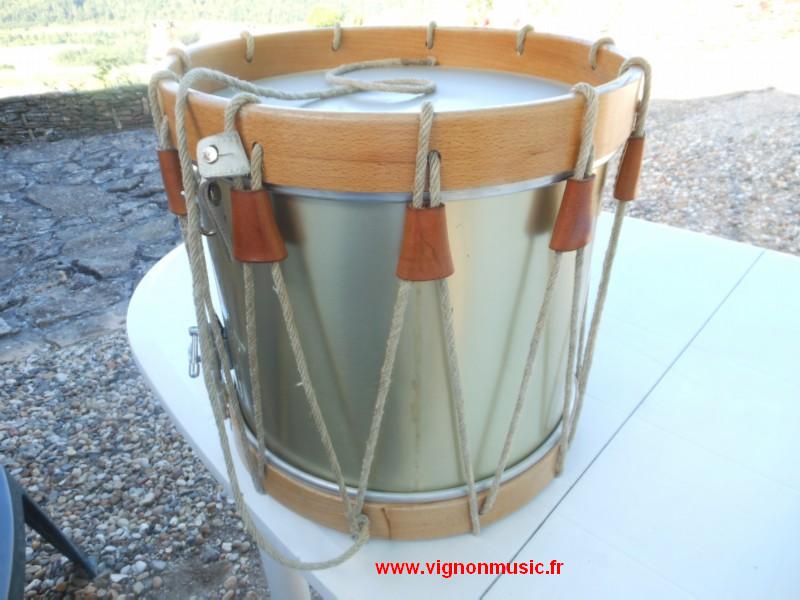
See rope replacement
10° Make Drum in tension , the snare adjustments (photo
10) (photo
11)
11° The expected moment came : we can play. Every
natural head is different, so the touch, the
behaviour, the sound are not predictable,
thus it is particularly exciting. (photo
12)
Back
to main page |
|